This is a sponsored post written by me on behalf of Cricut. All opinions are 100% mine.
Anyone else plant a kids garden for summer? The twins and I did and they were so excited to personalize it with these DIY kids garden projects using Cricut Joy.
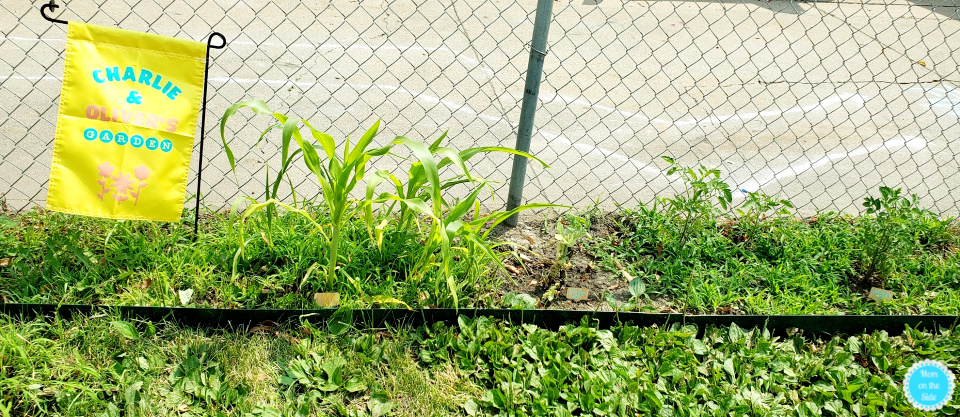
About a month ago, a community organization gave away free seeds to help families start their own garden. We planted seeds for tomatoes and corn, rescued a dying pea plant (that I hope holds makes it) and I think seeds for carrots. I’ll be honest, I forgot what else they planted.
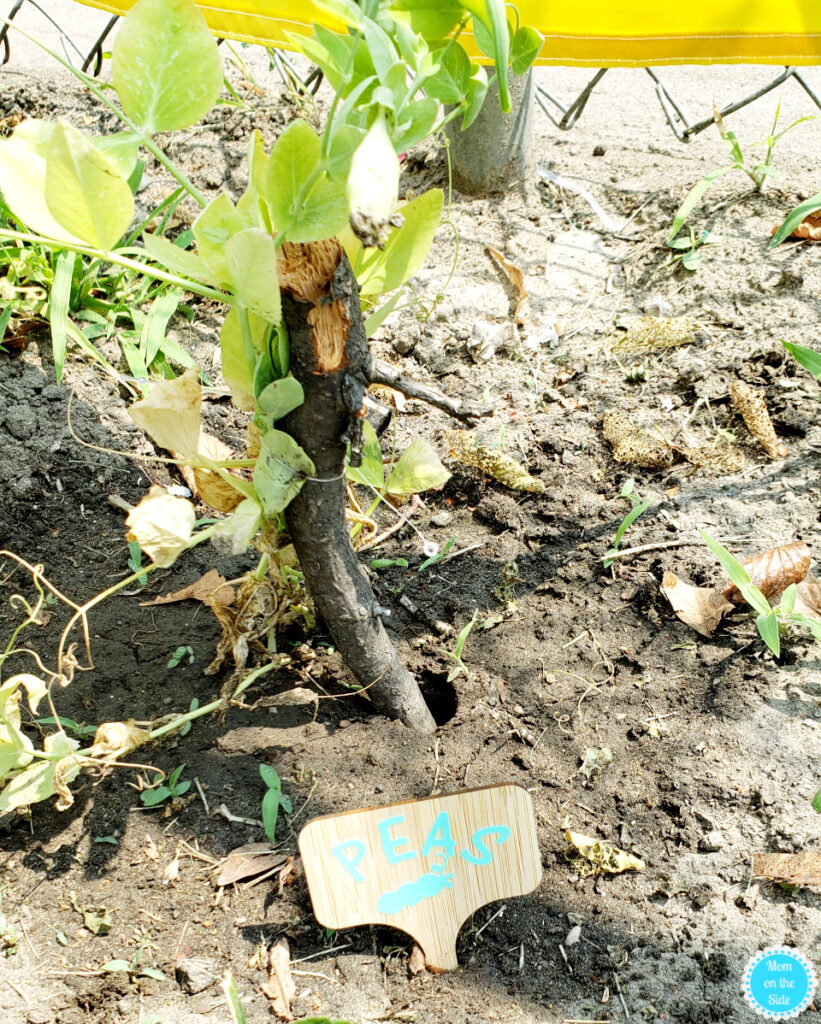
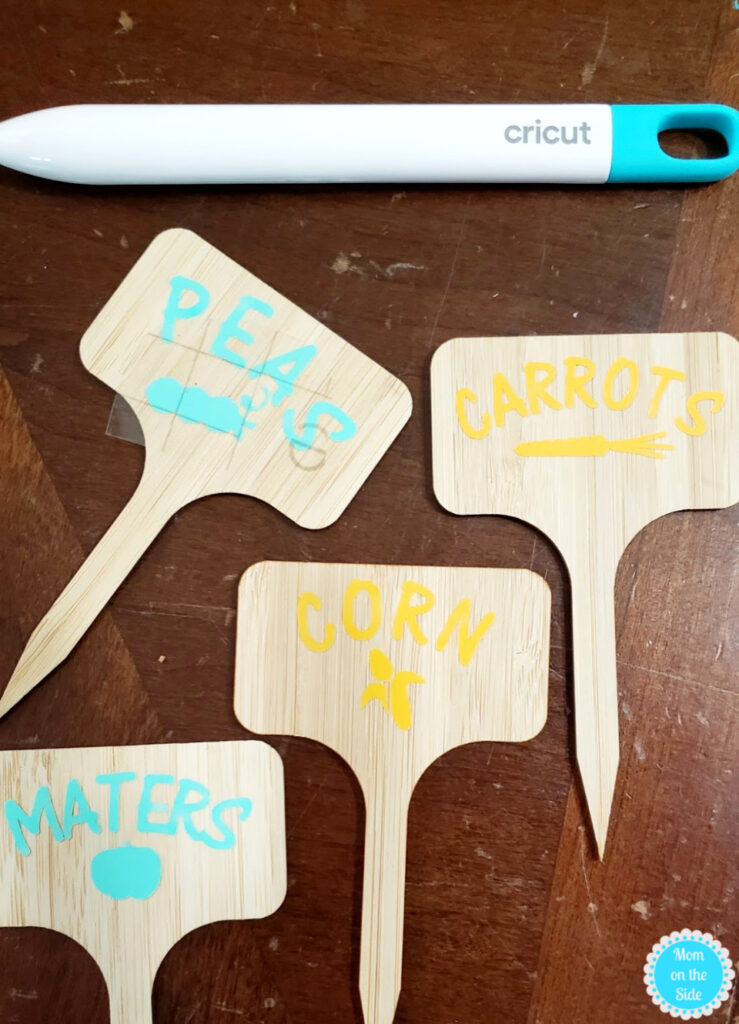
Probably should have made our labeled garden stakes for the veggies when I planted them… Now is better than never and it will help the twins (and me!) remember what they are growing.
These garden stakes were super easy to make and took just a couple minutes using Cricut Joy. Let me tell ya, I’m no crafter so I love how easy it is to set up and use Cricut Joy. I can even access Cricut Design Space on desktop AND mobile to design anywhere quickly and easily when the ideas strike.
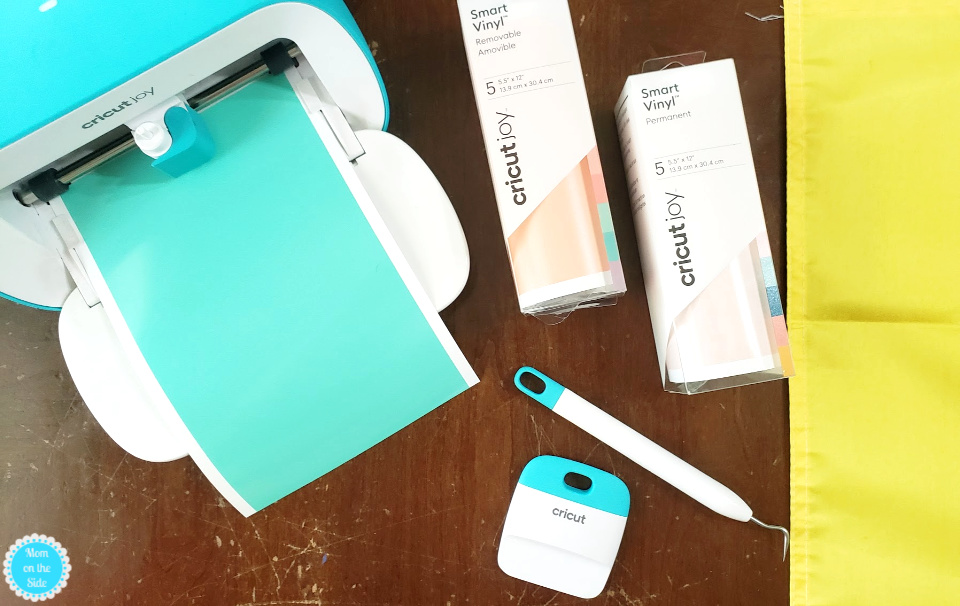
I also love the variety of Cricut Joy materials that are continually growing. Lately I’ve been loving the removable and permanent smart vinyl, especially for quick 15 minute or less projects. Smart vinyl is amazing and requires NO mat. They are what I used to make these garden projects!
DIY Kids Garden Projects
using Cricut Joy
Supplies for DIY Garden Stakes using Cricut Joy
- Blank Garden Stakes – we used these
- Cricut Joy Smart Vinyl Permanent – we used the Beachside Sampler
- Cricut Joy Transfer Tape
How to Make DIY Garden Stakes using Cricut Joy
- Measure the length and width of the space on the garden stake you will be personalizing.
- Customize my Vegetable Garden Stakes Template using Cricut Design Space, with the size and vegetables you planted.
- Cut out project on Cricut Smart Vinyl Permanent, weed it, transfer over to transfer tape, and apply to garden stakes.
We also added a personalized DIY Garden Flag using Cricut Joy. The twins love seeing their names and it makes them feel even more responsible for the garden.
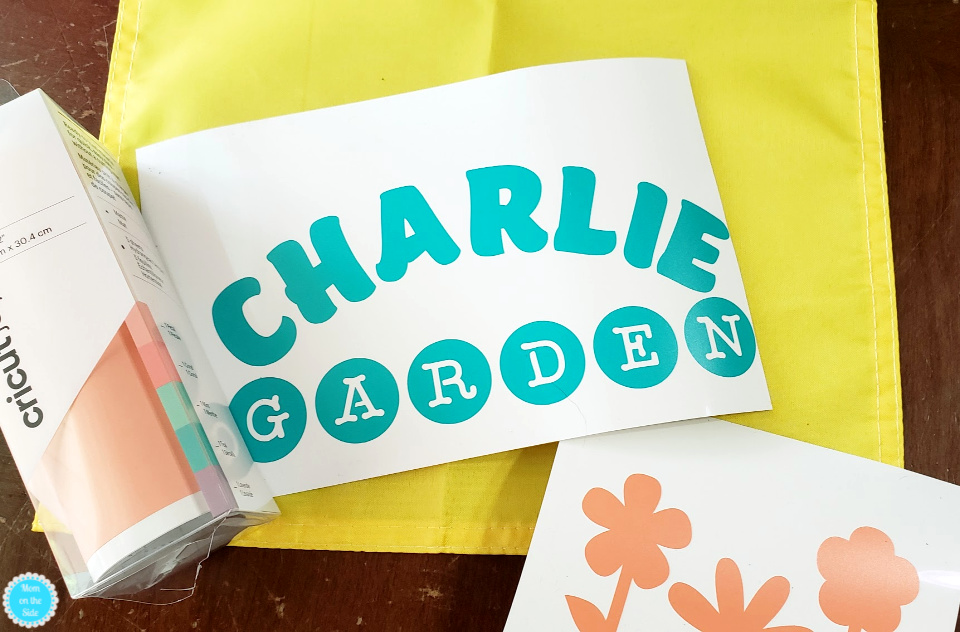
Supplies for Personalized DIY Garden Flag using Cricut Joy
- Blank Garden Flag – we used this one
- Cricut Joy Smart Vinyl Removable – we used the Hydrangeas Sampler. You could also use iron-on vinyl for a permanent flag.
- Cricut Joy Transfer Tape
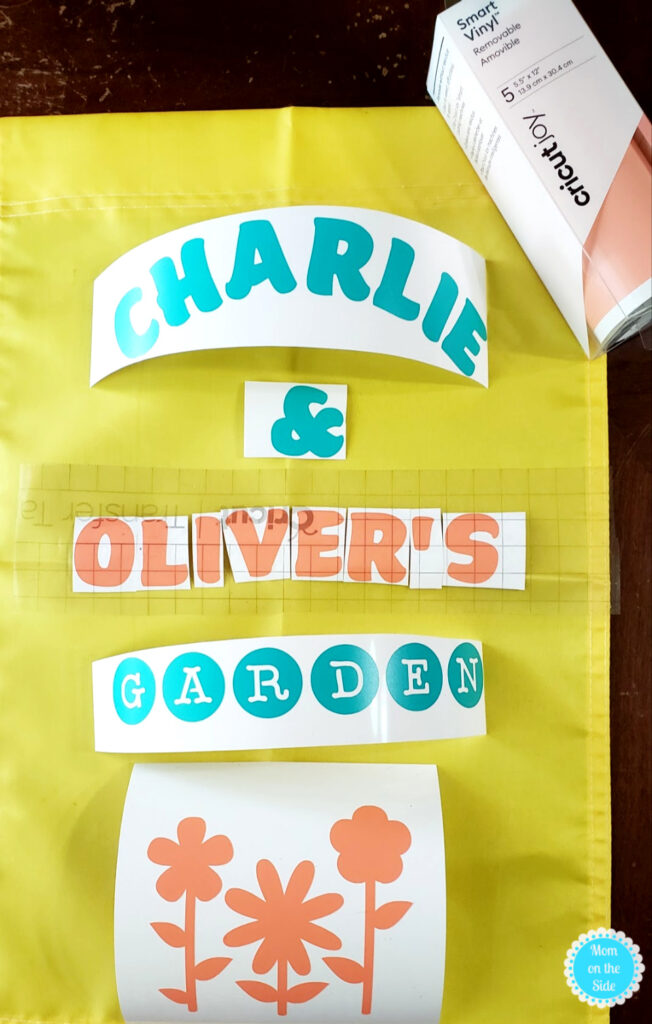
How to Make a Personalized DIY Garden Flag using Cricut Joy
- Measure the space on the garden flag where you want to place your design.
- Customize my Kids Garden Flag Template using Cricut Design Space, with the names of your kids.
- Cut the design out on Cricut Joy Smart Vinyl Removable or Cricut Joy Iron-On Vinyl.
- Position your design before adhering to ensure you have the placement you want. My flag arrived folded so I opted not to iron it out so I could have creases to help me center.
- If using removable vinyl, transfer the design over to transfer tape and apply to the flag. If you are using iron-on vinyl adhere it to the flag using the Cricut Easy Press.
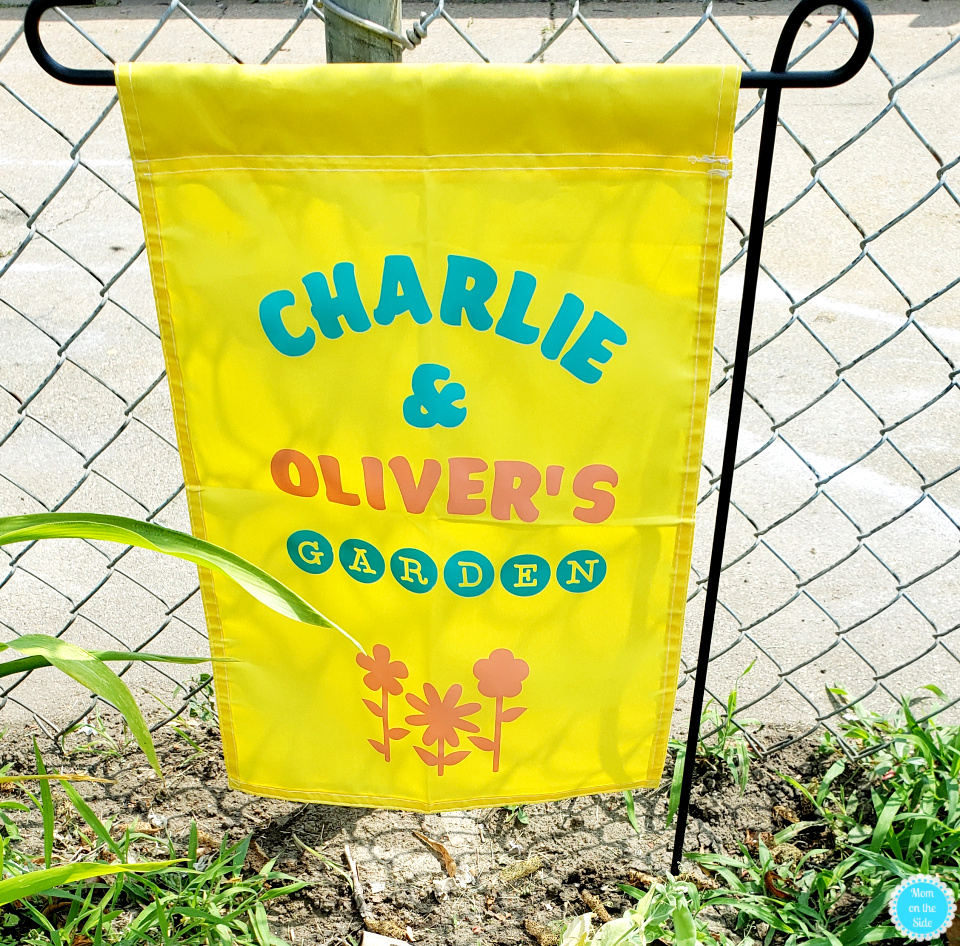
We have more garden projects in the works including customize the twins vegetable picking buckets and watering cans. I’ll share those projects with you as soon as they are done.
Until then, you can find lots more Cricut Joy Projects for the garden and home on the Cricut blog inspiration.cricut.com to keep you busy! The smallest cutting machine ever, it is the perfect companion for one cut one color projects in 15 minutes or less. What will you make next?!
Leave a Reply