• Skip to primary navigation
  • Skip to main content
  • Skip to primary sidebar
  • Skip to footer

Mom on the Side

Encouraging self care and dirty texts

  • Self Care
    • Health and Wellness
    • Me Time for Moms
    • Self Care Ideas
  • Dirty Texts
    • Dirty Holiday Texts
    • Special Occasion Dirty Texts
    • Random Dirty Texts
    • Date Night
    • Married Life
  • Free Stuff
    • Coupons and Rebates
    • Free Printables
    • Free Coloring Pages
    • Free Stuff for Adults
    • Free Stuff for Kids
  • Scavenger Hunts
    • Adult Scavenger Hunts
    • Holiday Scavenger Hunts
    • Outdoor Scavenger Hunts
    • Random Scavenger Hunts
    • Family Game Night
  • Holiday Fun
    • 4th of July
    • Christmas
    • Elf on the Shelf
    • Easter
    • Halloween
    • New Years
    • St. Patrick’s Day
    • Thanksgiving
    • Valentine’s Day
    • Party Ideas
    • Cocktails
You are here: Home / Free Stuff / Free Stuff for Kids / How to Make a Cereal Box Eclipse Pinhole Projector

How to Make a Cereal Box Eclipse Pinhole Projector

August 18, 2017

71 shares
  • Share
  • Tweet

This post on how to make a cereal box eclipse pinhole projector is sponsored post with Post Cereal. Any opinions are 100% my own.

While talking with our kids about the upcoming solar eclipse on Monday, August 21st, my husband and I remembered something. Back in the 90’s there was an eclipse while we were both in middle school. Our science teachers had us make DIY eclipse cereal box viewers to experience the eclipse. It was really neat and I thought, why not make some for the kids!

How to Make a DIY Cereal Box Eclipse Pinhole Projector

I grabbed some foil and Fruity Pebbles at the grocery store so we could create last-minute DIY Cereal Box Eclipse Pinhole Projectors. If you want to watch this year’s eclipse using a box of cereal and some other common household items, I’m showing you how. The best bar, it’s even NASA approved!

How to Make a Cereal Box Eclipse Pinhole Projector

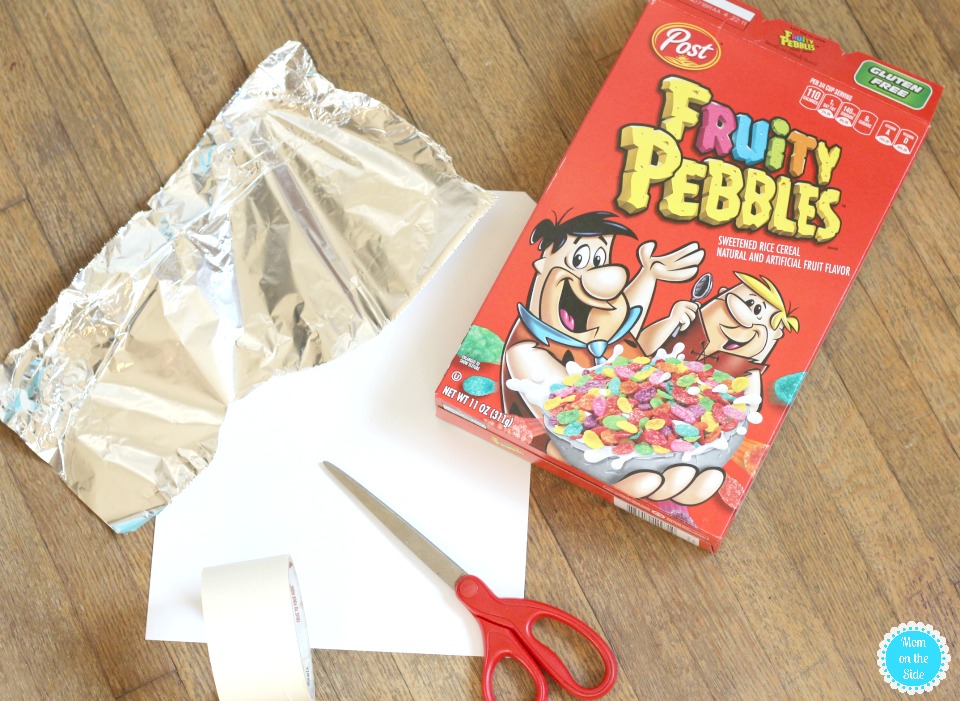
Cereal Box Eclipse Pinhole Projector Supplies

  • Cereal Box
  • White Paper
  • Foil
  • Tape
  • Scissors
  • Pencil or needle for poking a hole

PS: This is a DIY for parents to do with their kids, not for kids to do alone.
PSS: DO NOT look directly at the sun.

Supplies for making a Cereal Box Eclipse Pinhole Projector

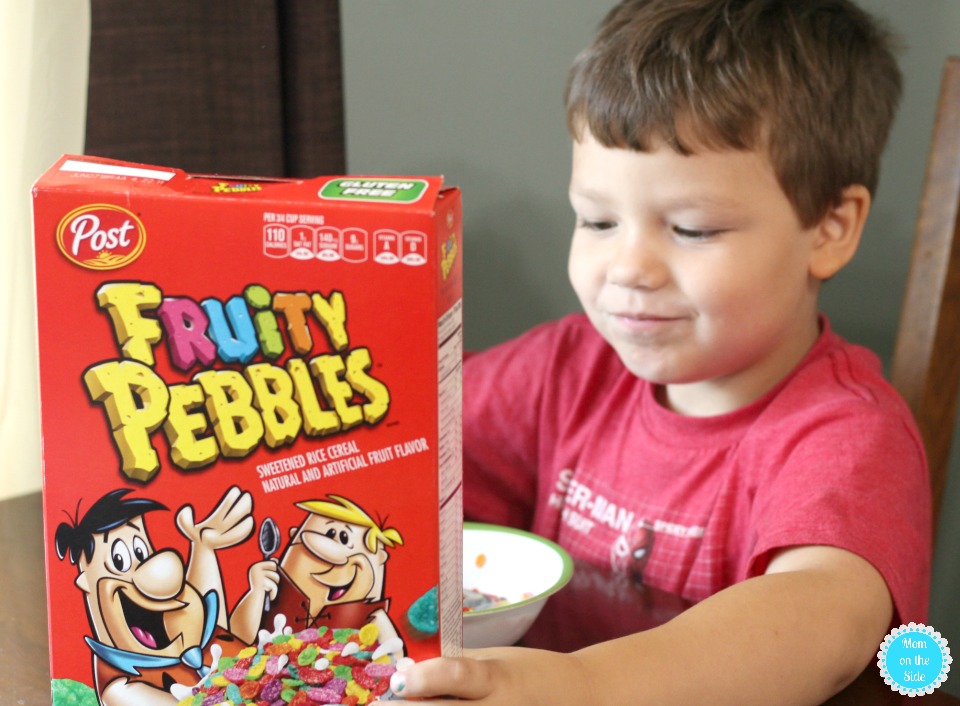
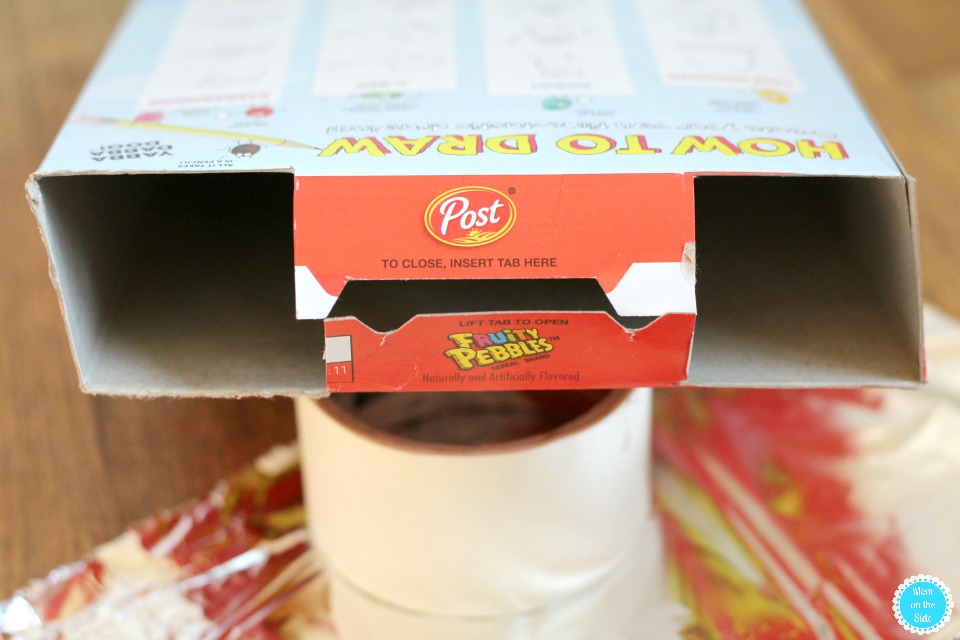
Step 1: Serve the family Fruity Pebbles for breakfast to empty out that cereal box. While the kids are munching on cereal, mom and dad can complete the rest of the steps to create this DIY pinhole projector.

Making a Cereal Box Pinhole Projector for viewing the solar eclipse.

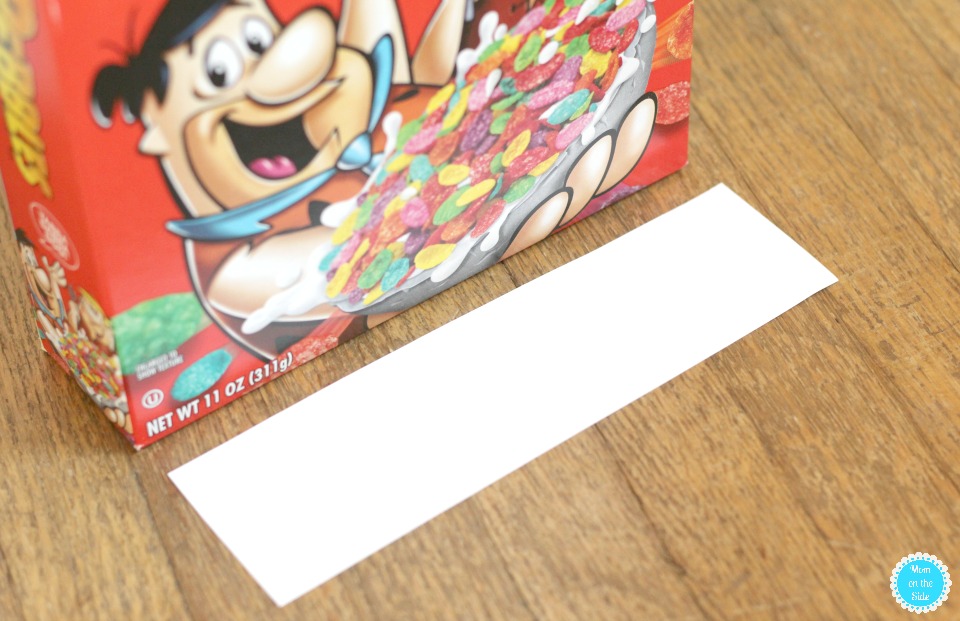
Step 2: Cut out a rectangle shape of white paper or cardboard that will fit snuggly inside the bottom of the box and tape into place.

Directions for Cereal Box Eclipse Pinhole Projector

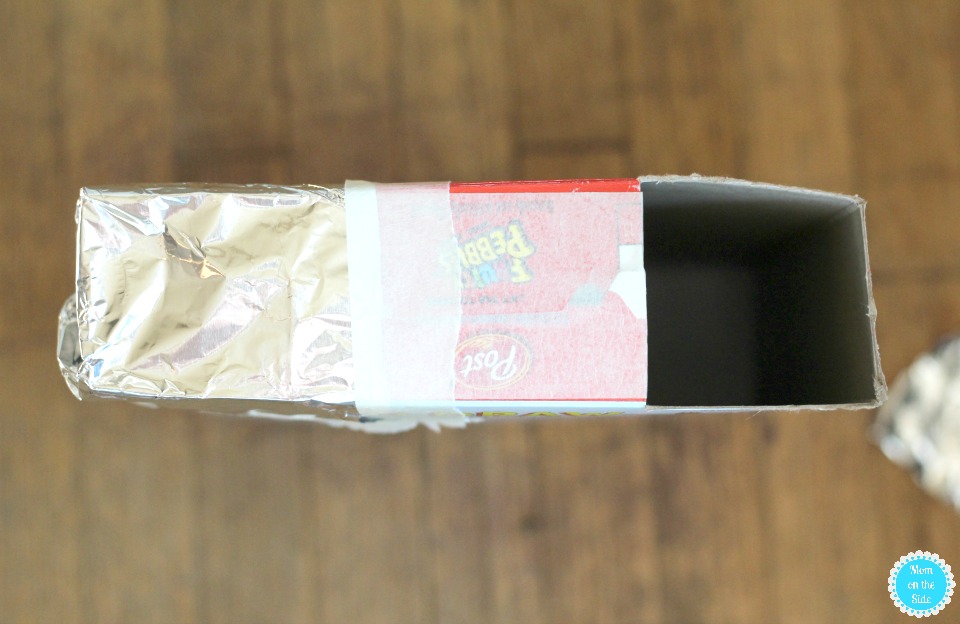
Step 3: Cut a square shape on the left and right sides of the top of the box and tape up the center. Cover one of the square holes with aluminum foil and tape into place.

DIY Cereal Box Eclipse Pinhole Projector
Make your own Cereal Box Eclipse Pinhole Projector

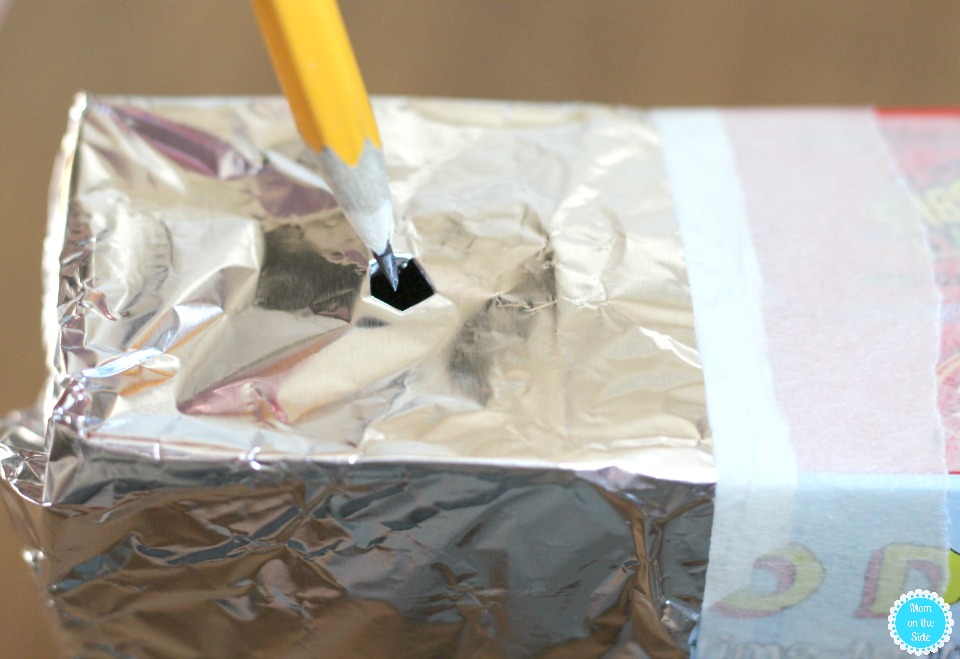
Step 4: Using a small nail or pencil, poke a small hole in the foil.

Homemade Cereal Box Eclipse Pinhole Projector

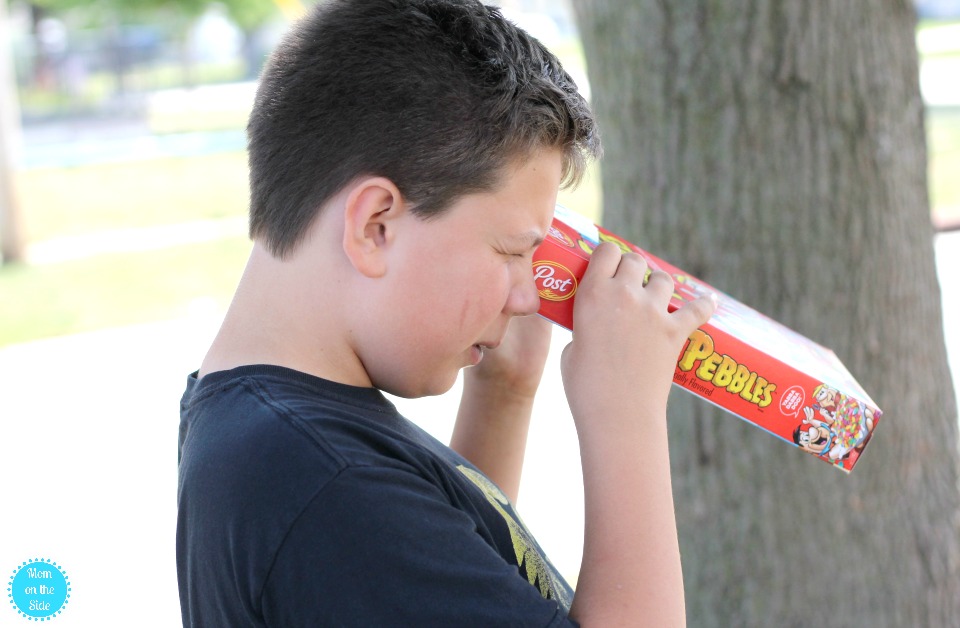
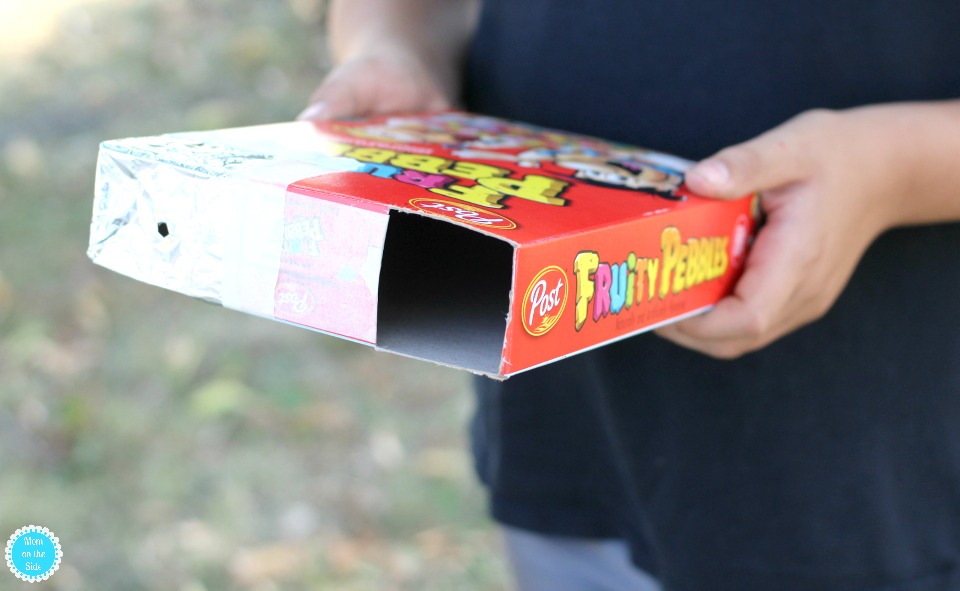
Step 5: When the eclipse comes, look through the open square, with your back facing the sun. A small image of the sun will be projected through the foil and onto the white paper inside the box. Remember, never look directly at the sun!

What you need to make a Cereal Box Eclipse Pinhole Projector

Not only is this fun and easy to make, but it’s a great experience for the kids! Pick up some Fruity Pebbles and foil so you can make one, or several, this weekend to enjoy the solar eclipse on Monday!

Cereal Box Eclipse Pinhole Projector DIY

Filed Under: Free Stuff for Kids

Previous Post: « Real Talk Twin Moms: What Surprised You The Most?
Next Post: Balloon Pop Art Kids Will Go Crazy About »

Reader Interactions

Comments

  1. Valora says

    August 19, 2017 at 7:00 pm

    Do you put the white paper on top of the cardboard cereal box bottom or do you replace it with the white paper?

    Reply
    • Lisa Collins says

      August 21, 2017 at 9:33 am

      On top of the bottom – put two little pieces of tape on each end and push it down and stick it to the bottom. Hope that helps!

      Reply
  2. Theresa D Miller says

    August 21, 2017 at 1:08 pm

    Thank you! I’ve never done this in my days in school but my husband has and he Judy called me and told me about out about 20 minutes ago. I homeschool our youngest so this was a lot of fun for us! Thanks!

    Reply
    • Theresa D Miller says

      August 21, 2017 at 1:09 pm

      I meant he just called me from his work…

      Reply

Leave a Reply Cancel reply

Your email address will not be published. Required fields are marked *

Primary Sidebar

Hi, I’m Lisa, and welcome to Mom on the Side! You’ll find loads of self care ideas, ways to spice up your marriage (dirty texts!), and simple ideas to make holidays fun. Get comfy and let me help you make life more fun!

Footer

Follow Mom on the Side on Social

  • Facebook
  • Instagram
  • Pinterest
  • Twitter
  • About Lisa
  • Media Kit
  • Contact Lisa
  • Privacy Policy and Disclosure Statements

Mom on the Side is a participant in the Amazon Services LLC Associates Program, an affiliate advertising program designed to provide a means for sites to earn advertising fees by advertising and linking to Amazon.com

Copyright © 2025 · MOMONTHESIDE.COM · Privacy and Ad Policies