When do you carve your pumpkins? Whenever you do, I’ve got The Best Pumpkin Carving Tips to help you make the most of your pumpkin!
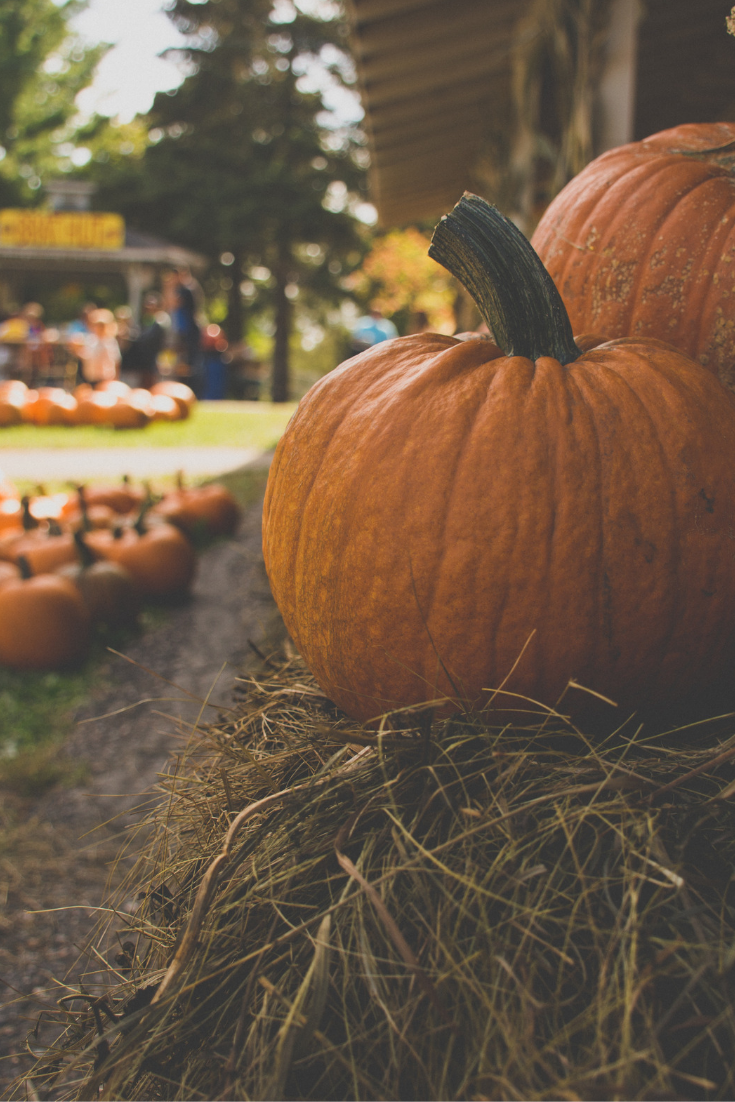
My kids always look forward to the annual pumpkin patch tradition and picking out the best pumpkins for carving. Running among the vines, arguing with each other over whose is better, and then begging dad to carry the oh so heavy pumpkin they swore they could handle.
Picking pumpkins is a lot of fun even if it requires a Sour Ginger Apple Cocktail afterwards. Even more fun is carving pumpkins into fun faces and these tips will have you making jack-o-lanterns like a pro!
The Best Pumpkin Carving Tips
It all starts with choosing the right pumpkin. One thing to look for in a good pumpkin for carving is a sturdy stem. A sign of a healthy pumpkin and better for handling when carving.
Avoid pumpkins that are flat, bruised, really heavy, or squishy. These are signs the pumpkin could be rotten and you don’t want to find our when you cut into it home.
Best Ways to Carve a Pumpkin
When carving holes in pumpkins, carve the hole in the bottom. This will help it sit level and also makes it MUCH easier to add a light source inside. Instead reaching down inside to place or light the candle you can place the pumpkin back on top of the light!
PS: If you go this route and use a candle, cut a small hole in top so the heat escapes.
The best tool for removing pumpkin seeds and pulp is a large metal spoon or ice cream scoop. We’ve used all sorts of “special” tools in pumpkin carving kits and a good old spoon from the kitchen works better than anything for me.
Before carving a design into a pumpkin, draw it on with a water-based marker or pencil. They easily remove from the skin of the pumpkin and help plan out the design before you begin cutting.
Small pairing knives or X-Acto Knives are our go-to when cutting our faces and designs on pumpkins. Start by carving closest to the center first and work outwards, pushing the carved pieces into the pumpkin to remove.
Another great pumpkin carving tip is toothpicks! They work wonderfully for reattaching pieces that shouldn’t have been removed or got cut too far.
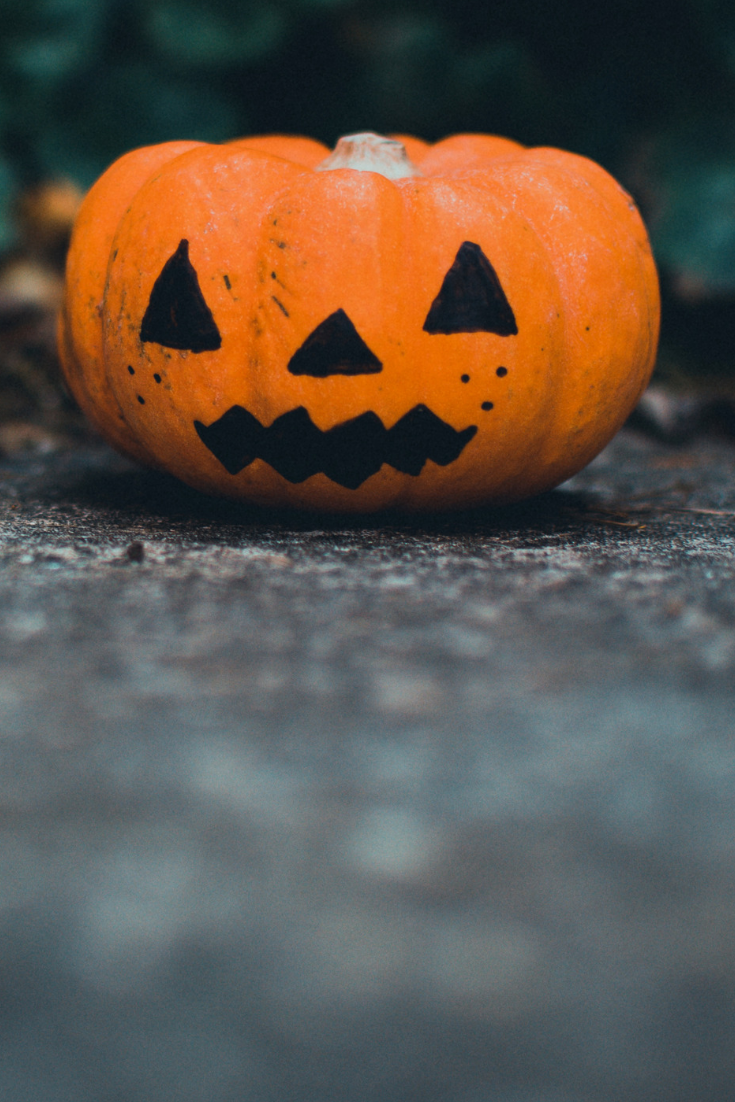
After the pumpkin is carved it has officially become a jack-o-lantern and is ready for lighting! Different ways to light pumpkins include votive candles, pillar candles, battery operated candles, batter powered tap lights, and even strings of lights.
Pumpkin Carving – check!
Pumpkin Lighting – check!
Now all that’s left is perserving pumpkins so they can be displayed longer! Try one of these ideas if you wan to slow down mold in pumpkins or keep the pumpkin from drying out.
- Cover carved areas with petroleum jelly.
- Spray pumpkin daily with a mixture of bleach and water in a spray bottle.
- If your pumpkin starts to shrivel up, place it in a bath of cold water for at least an hour. When you remove it, dry it off thoroughly so it doesn’t mold.
Do you have any favorite Pumpkin Carving Tips you would like to share?
Leave a comment below, I would love to hear it!
While you are carving pumpkins, put on one of the many Halloween Movies on Netflix!

[…] Mom On The Side shares her best pumpkin carving tipsSo this is obviously the most stereotypical use for a pumpkin – carving it! I only carved my first pumpkin two years ago, I went for a scary pumpkin face in case you were wondering. Last year I went for 3 bats, but they looked more like 3 seaguls. Mom on the side has some really handy tips for all you carvers, like what to look for when buying a pumpkin, the best way to actually carve, and how to preserve it when you’ve finished. […]